This past month in Mr. Long's Art 12 class brought warmer weather, several long weekends, and the chance to experiment with ancient Japanese raku-style pottery.
Made by using special, hardier clay, the process begins with pounding and shaping the wedge of clay onto a ball. However, the challenge was not to touch the clay as much as possible, as it would adversely effect the moisture of the clay.
Thus ensues the pinch pot step; surprisingly finicky with a definite technique.
After that, the two pots were meshed together and smoothed out, and then the students began to design the stop cuts that would eventually form the lid.
Slow drying, a regular firing and glazing followed; all reparation for the big day, the open firing.
We were lucky enough to have guest artist Phyllis (an expert in Raku) join us to guide us through the various steps, and to have the LALS Art class be a part of the process firing their own raku ceramics.
Here are some of the images that describe the Raku firing in open kilns: pretty crazy, huh?
Glazed pots before being fired
The kiln in action, at about 2000 degrees Mighty Long, facing the inferno
The inside of the kiln
Guest artist Phyllis
Students placing molten pots (directly from kiln) onto combustibles
"Burping" the fire
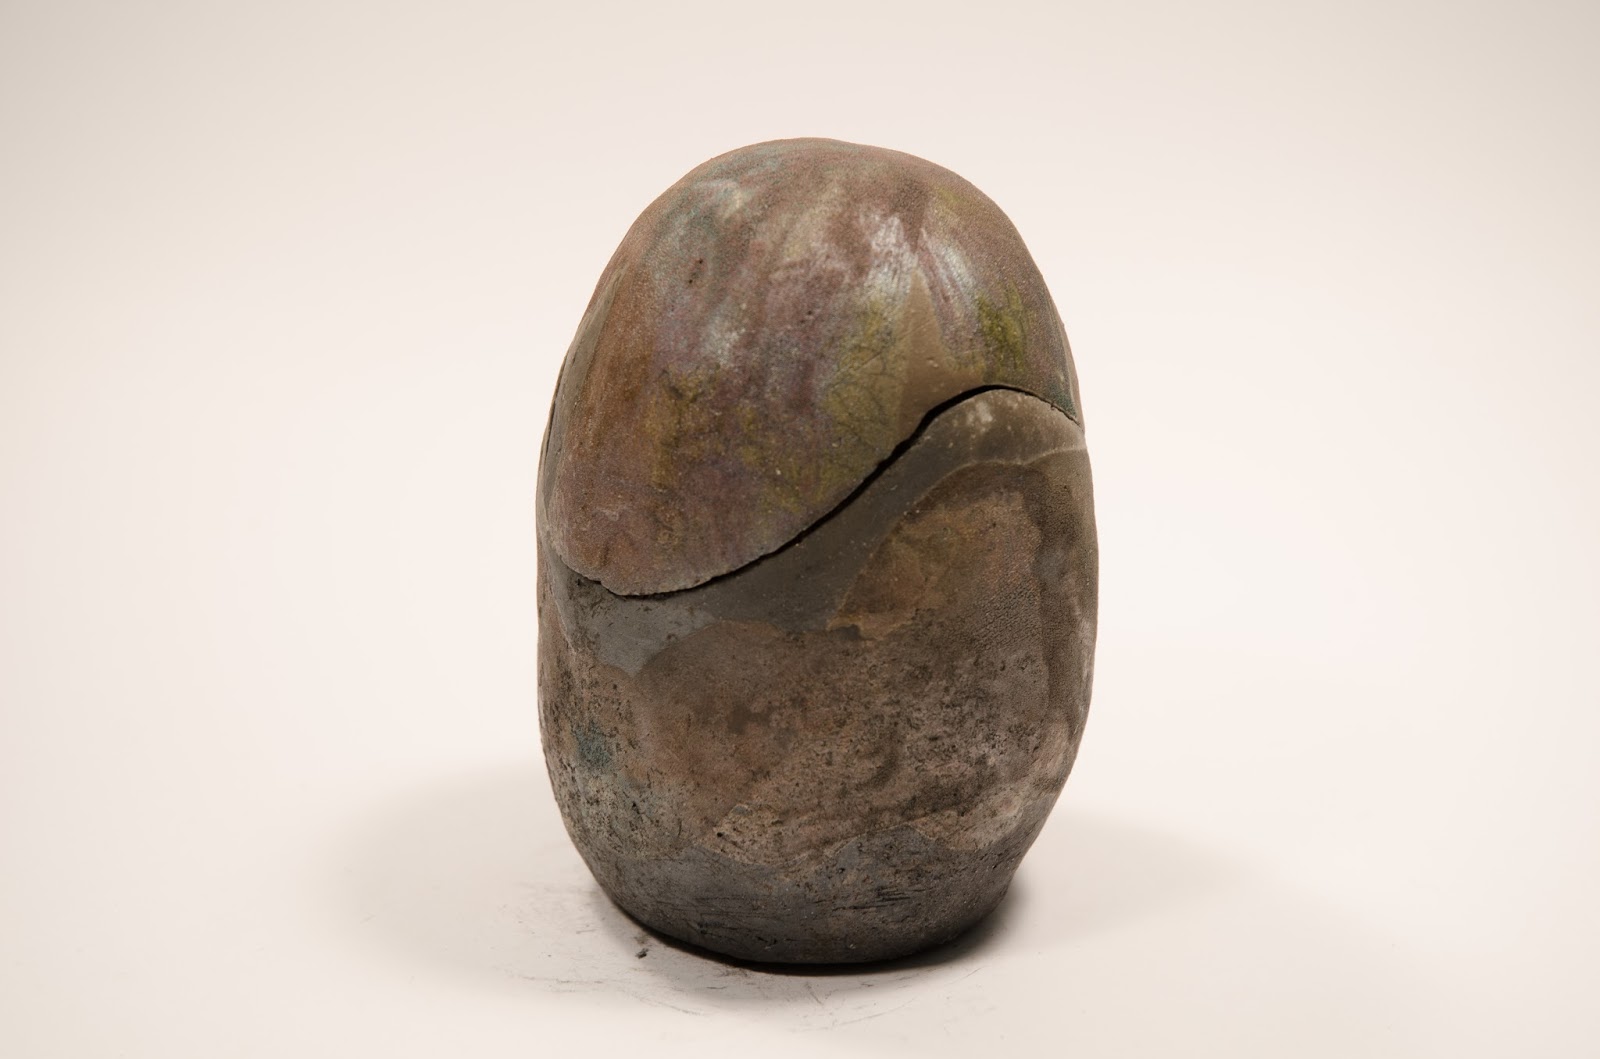
After the open fire
The pots drying, after being washed
Phyllis using a blowtorch to bring out the glaze

Pots being displayed